Connect docker and MySQL in right way
In this guide, we will connect a MySQL server within a docker environment in the right way.

Take a quick glance at MySQL and Docker
MySQL is a freely available open-source relational database management system that uses SQL.
Docker is virtualization software that performs operating-system-level virtualization.
Unlike traditional VM, docker doesn’t take up a lot of space, memory, and processing power.
Docker provides a light-weight container environment that can be used to host any application of your choice. Because it’s light-weight, it can be easily shipped to other machines and be executed on those machines, then you can get the exact same environment in the dev and product system. Or you can clone your environment for any new team members easily and quickly, without painful setups.
With Docker, you can easily launch containers based on images that contain different versions of the software.
You could create as many containers as you want on the host machine, and each of the containers are isolated from one another.
Also, each docker images are version controlled.
1.Install Docker
Download the (free) Docker Community Edition for Mac (unless you’ve already got it installed on your system). This will enable you to run SQL Server from within a Docker container.
To download, visit the Docker download page and click Get Docker.
After download the complete and successfully installed lunch docker.
2.Increase the Memory
By default, Docker will have 2GB of memory allocated to it. SQL Server needs at least 3.25GB. To be safe, increase it to 4GB if you can.
To do this:
- Select Preferences from the little Docker icon in the top menu
- Slide the memory slider up to at least 4GB
- Click Apply & Restart


3.Download and run MySQL server
- Open Terminal
- Verify docker installation via running “docker version”
A successful docker should give you the following output:

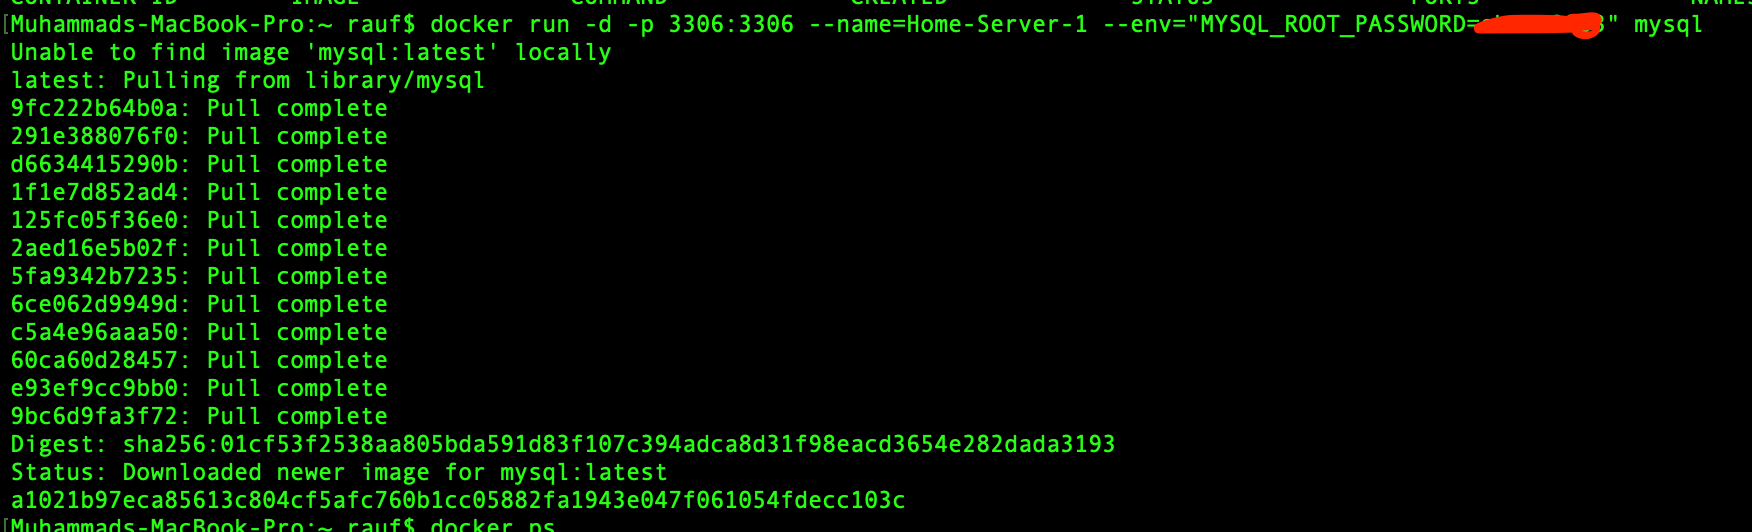
3. Run below command to create a docker container with mysql image.
doker run -d -p 3306:3306 --name=HomeServer1 --env="MYSQL_ROOT_PASSWORD"="YOUR STRONG PASSWORD" mysql
It should give you the following output in the terminal
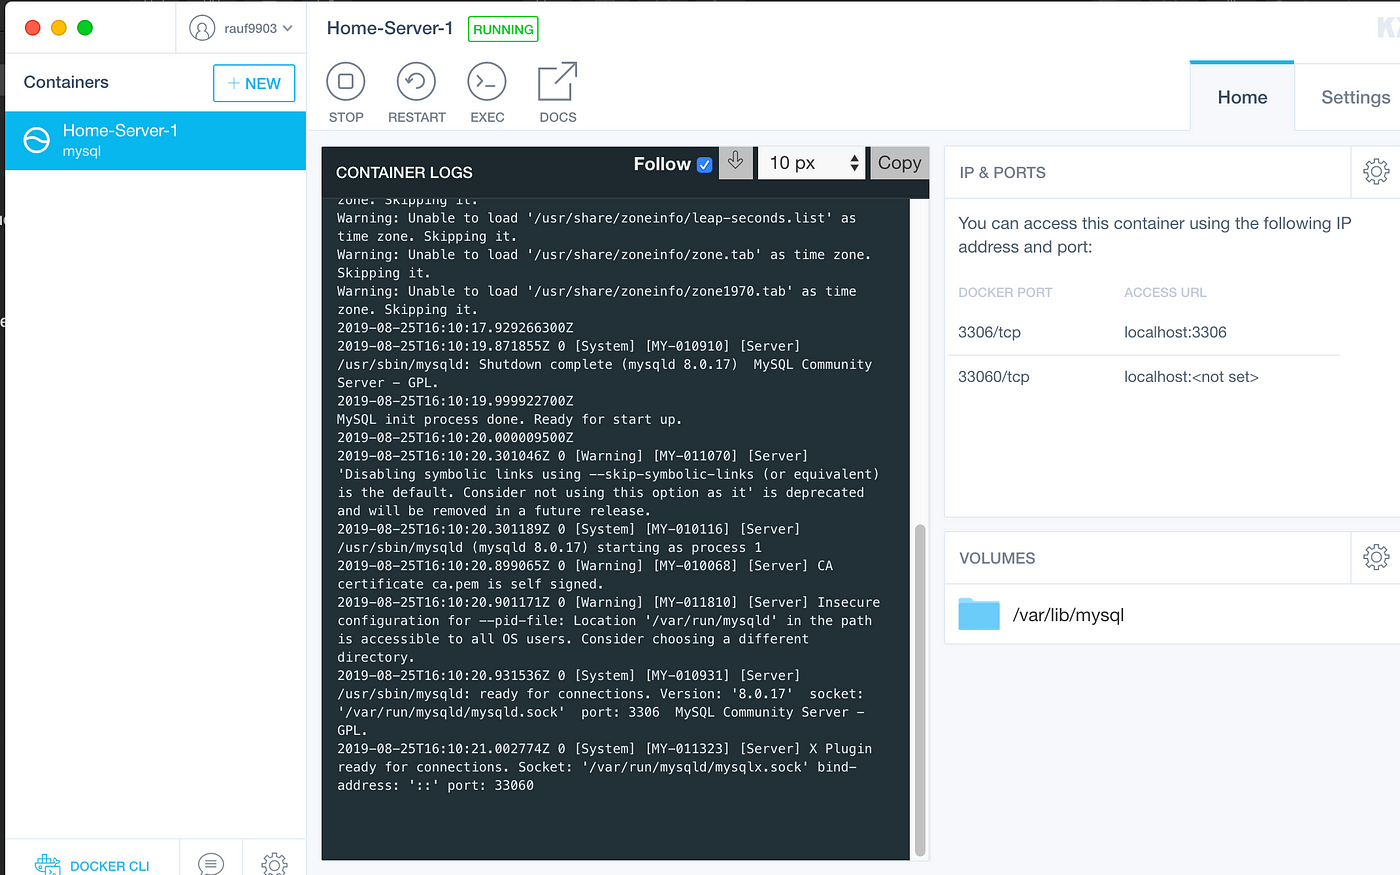
You can also verify via open Kitematic tools. Kitematic is docker GUI platform.
4. Now you can open any SQL server management studio. I prefer to use DBeaver, it is opensource, easy to use, and has a large fan base.
To download visit DBeaver Download page.
5. After install finish open DBeaver and connect your docker MySQL server which is running in “localhost” port “3306”, use your root user and password you have defined on previous terminal command.

6. You may encounter with following “Public Key Retrieval is not allowed” error. Do not worry it is a common error that is occurring from MySQL 8, the authentication plugin is changed to “caching_sha2_password”.

7. For solving this error open terminal and copy and paste the following command
docker exec -it Home-Server-1 bashIt will give you bash access for your container.
8. Then login into MySQL
mysql -u root -p
9. Then type
use mysql
select host, user from user;
it will give following result

10. Now you have to change your old password to new strong password
ALTER USER 'root'@'%' IDENTIFIED WITH mysql_native_password BY 'Your New Strong Password';11. Al, last you have to flash privileges via type following code into MySQL terminal.
FLUSH PRIVILEGES;It's Done !!!
If you trying to connect MySQL server with DBeaver it will give you success and take you to the DB management studio platform.

I hope you found this article helpful. If you did, please give it some love on your favorite social media channels. Docker on! 👏